
[vc_row][vc_column][vc_single_image image=”16203″ img_size=”large”][vc_column_text]by MD Exchange and Macon Magazine Staff
Why recycle when you can upcycle? Old magazines and books unlikely to be re-read are perfect for this project.
These honeycomb ornaments make great gifts, Christmas tree decorations, or year-round décor on mantels, doors, or bookshelves. They come in many shapes and sizes – from globes to bells to evergreen trees. You can make your own template if you wish!
INSTRUCTIONS
1. Cut out the template from your December 2023—January 2024 Macon Magazine.
2. Cut out 50 shapes from your book or magazine.
3. Once all your shapes are cut, fold them in half longwise (so that the circle at the top becomes a semicircle and the bottom becomes a sharp point.)
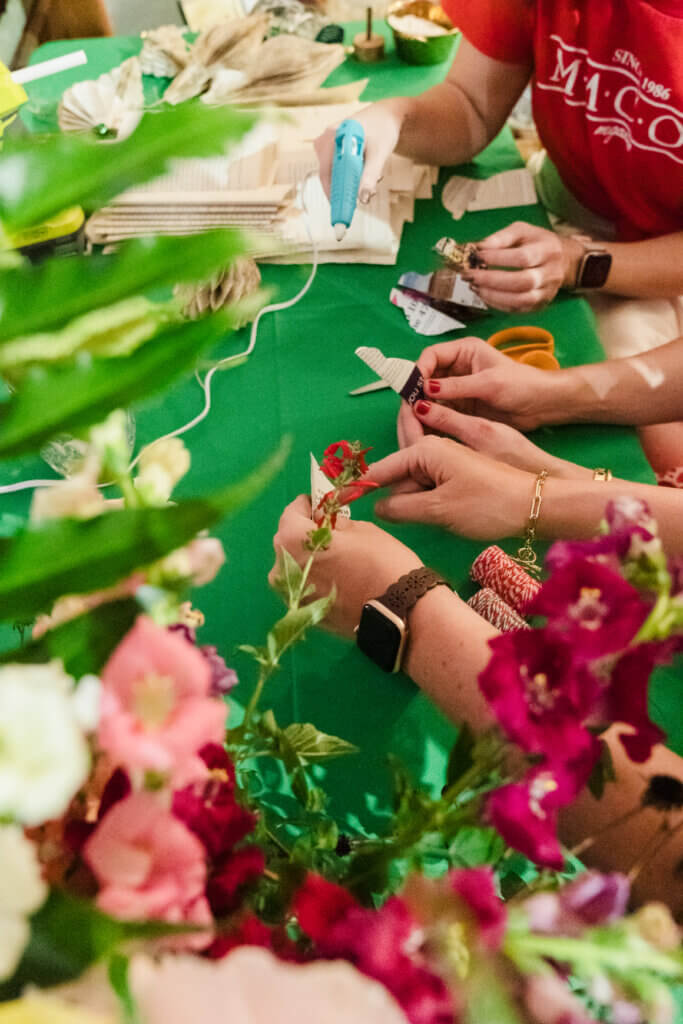
4. After your pieces are cut and folded, you’ll begin gluing them together.
5. Open one folded shape.
6. Carefully place two thin lines of hot glue perpendicular to the fold, separate from each other, partway across one half of the paper. The top line should go at the widest point of the circle at the top of the shape, and the bottom line should be about one half-inch from the point at the bottom. The lines do not need to go all the way to the edges. Leaving a gap on either end will help prevent glue from spilling over the edges. The thinner the lines, the more your paper will be able to honeycomb apart.
7. Fold the shape back in half along the crease and allow it a few moments to cool.
8. Add a thin line of hot glue in a straight line across the widest part of the shape on the top side of the folded half.
9. Working while the glue is hot, get a second folded shape, carefully line up the edges, and set it on top of the glued side of the bottom shape. Allow the glue to cool for a few seconds.
10. Opening up the folded shape on top, carefully place the two lines inside precisely where the lines were on the first shape. Tidy lines will help your ornament fan out evenly.
11. Repeat this process of two lines inside, 1 line outside, for all 50 shapes, keeping all lines of glue precisely aligned as you go up the stack.
12. When all of the shapes are glued, press them together firmly and spread hot glue evenly across the entire flat edge of your stack of paper shapes.
13. Before the glue has cooled, use it to attach a looped ribbon to the flat edge, with the loop poking out of the top. This is what you will use to hang it up later.
14. While the glue is somewhat set, but still flexible, carefully begin to fan out your ornament, bringing the bottom piece of your stack around toward toward the top piece. This will enclose your ribbon, leaving only the loop visible on top.
15. As you go, starting at one side, gently ensure each individual shape is opening between the glue lines, bending like a honeycomb. If needed, delicately unstick any edges where the hot glue might have spilled over (a chop stick or Xacto knife can come in handy here).
16. Your paper shapes should open up to form your ornament, with the bottom half of one edge of the stack meeting the top half of the stack on the opposite side. You’ll see the ribbon is now tucked in in the center of the ornament.
17. Carefully align and add the final 1 line of glue at the widest point of the shape, gluing together the 2 sides that meet when the ornament is open.
18. Presto! Your ornament is ready to show off.
If you’re planning to recycle or upcycle a Macon Magazine:
We accept returns of select editions for our archives – mostly the vintage editions! If you want to see if your edition could belong in the archives, please email hello@maconmagazine.com.
You can also donate gently used books to Friends of the Library.
This DIY was inspired by a fantastic tutorial on the website The House That Lars Built, founded by Brittany Watson Jepsen.[/vc_column_text][/vc_column][/vc_row]